Flip Animation
|
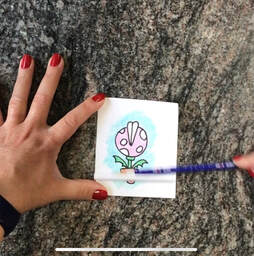
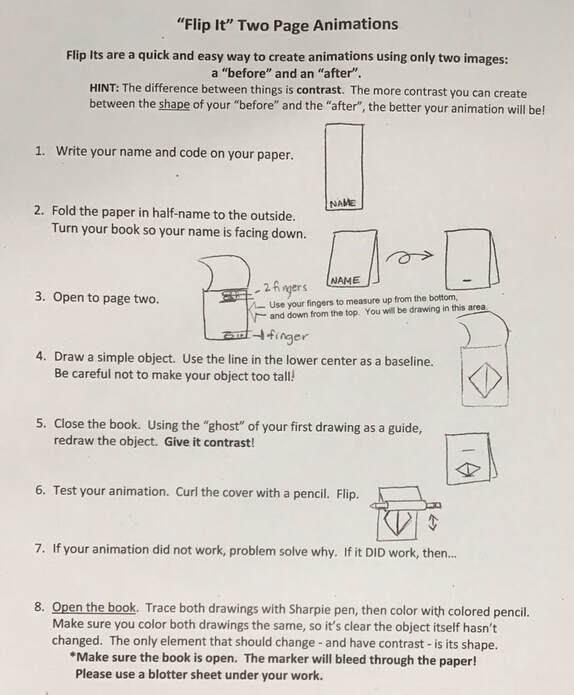
Overview:
A flip animation is a paper folded in half with two pictures that very gradually change from one page to the next, so that when the page is rolled quickly, the picture appears to animate by simulating motion or some other change. Flip animations are often illustrated pictures in books for children, they may also use photographs rather than drawings. Supplies: Paper Pencil Coloring Supplies Directions: |
|
Color Monster Animation Challenge
|
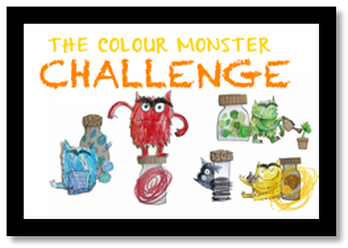
Overview: Using inspiration from the book, The Color Monster by Anna Llenas, this week’s challenge has two parts. First, use the element of color to create a monster that communicates a specific emotion. Then, use the iPad app, Stop Motion Studio, to animate it, using the principle of movement.
Materials:
|
|
Directions:
- Watch the video, Color Monster Challenge by art teacher, Mrs. Mee, to see the following steps for creating a color monster animation:
- Draw monster parts on the heavyweight drawing paper or cardboard. Be sure to include: body, arms, legs, mouth and eyebrows. Eyelids and “extras” (simple shapes for the background that help communicate your emotion) are optional.
- Draw eyes and teeth on white paper.
- Color all body parts and shapes.
- Cut out all parts.
- Attach arms, legs, eyes, mouth, and other parts using tape that attaches on the backside. (No tape showing on the front!) *Tip – Use a small amount of tape so these parts can still move!
- Set up your camera station. Place your iPad on the edge of a chair or table, 12-24 inches higher than the animation background (sheet or towel). Place your monster on the background, open the Stop Motion Studio app, and check that the monster and background fill the frame of the camera well. Make adjustments by zooming in with the camera, or raising or lowering your iPad.
- Take a series of photos, making slight changes between each camera shot. Press play to review your animation. *Tip - While filming, your iPad must be still, with only the monster making movements!
- Share your animation with a family member, asking them to guess your emotion. If they guess incorrectly, problem solve changes to communicate your emotion more clearly.
- Go back to the main screen, add a title, select your video, and save it to your camera roll.
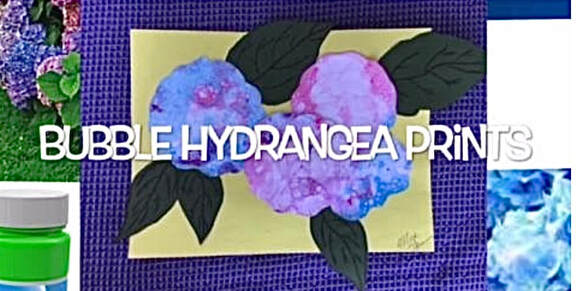
Bubble Hydrangeas
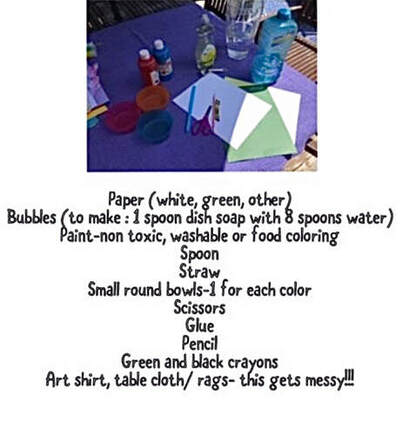
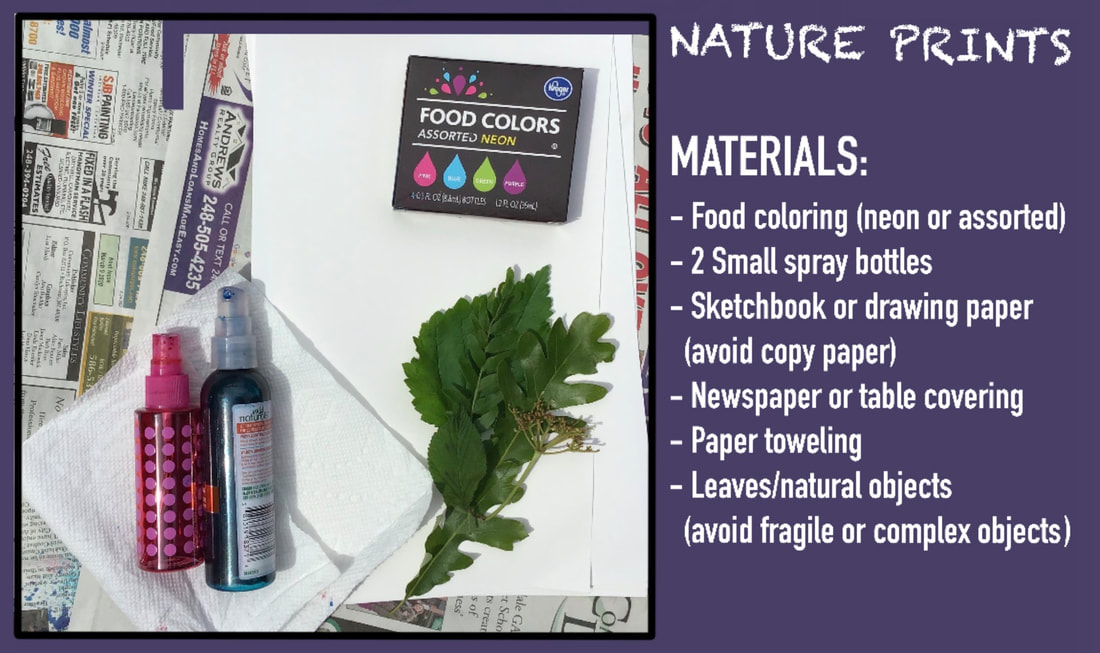
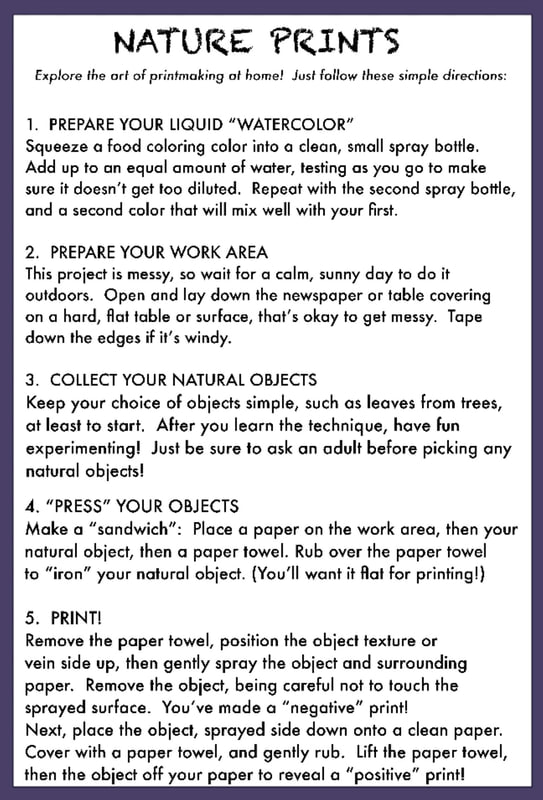
Nature Prints
Slime Time!
**Messy Project Alert**
Have you ever made SLIME? Wait until you feel the texture. It is soft, squishy and fluffly. Fluffly slime is regular slime but with shaving cream. The more shaving cream you add the fluffier it gets!! Ask your adult to help, gather the materials, a place mat or table cover & Give it a try!!

Materials:
Adult to help mix and measure
A Bowl
2/3 cup of Elmer's White Glue ~ Elmer’s glue is the BEST for slime
½ teaspoon Baking Soda
¼ cup of Water
2-3 cups of Shaving Cream ~~ do not use shave gel
1 ½ Tablespoons contact solution ~~must have boric acid so check the label
Optional: Liquid food coloring
Steps:
- Add white glue to the bowl
- Add water and baking soda and MIX
- Add Shaving Cream and MIX
- Add food coloring and mix until you like the color
- Slowly add in a tiny bit of the contact solution and MIX then add more
